Last year around Halloween I got this idea of setting up my studio lights and take photos of trick or treaters as they came by. So for the past year I have been getting the parts that I needed to make it happen. Technical details down below for those that care.
All in all, it was a great success, with 294 photos of 81 trick or treaters. It almost didn’t happen due to the rain, as I was shooting in my garage and blowing rain and camera gear don’t mix all that well. But luckily the rain died down around 6:30 and I was able to open shop.

The response from people was great. Some weren’t sure what was going on, some asked how much I was charging (it was free, guess I need a sign). One mom walked away saying “that’s the best idea I have ever heard of.” I’ll take that as a complement.
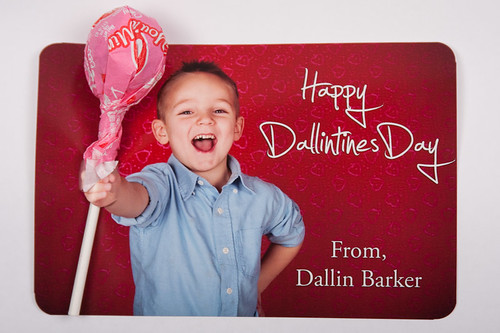
A few photos from the night are here in the post, but you can see the rest in the full gallery. Is this my best work? Nope. The floor got covered with dirt and grass on occasion, sometimes the garage snuck into a shot here or there (went back and tried to fix some of that), people would blink or be looking at the monitor for some shots. But you get what you pay for. Normally I would say a photographer should only publish their best shots, but this will be a rare exception. So take all the bumps and bruises in the photos with a grain (or bucket) of salt 🙂
All Ages
Baby, Toddler, Teen, Adult


Technical Details
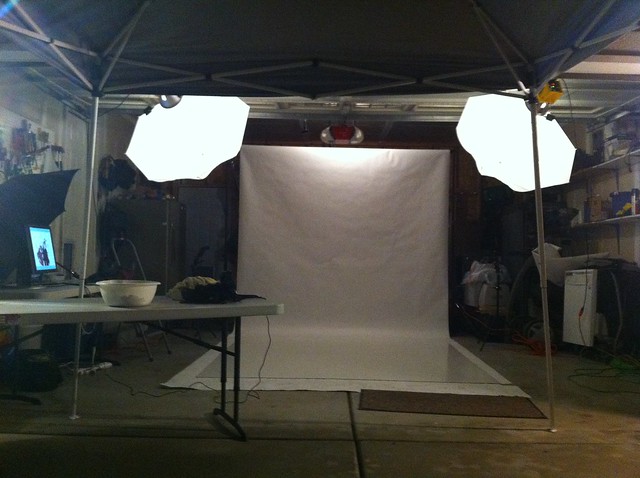
Here’s a photo of the setup. Click through to see notes on the image.
Key Lights – Two alien bees 800 hanging from superclamps that are clamped onto an open garage door. I wanted the lights up off the ground since I knew I would have lots of kids walking around that wouldn’t be watching for stands.
Background Lights – Two speedlights (430 ex and 580 ex II) pointed at the the white seamless.
Light Triggers – All lights triggered by a Radio Poppers JrX Trigger and JrX Studio Receivers (4) with some RP Cubes on the speedlights.
Whiteness – 9 foot white seamless. Two Thrifty White Tileboards from Home Depot, via the Zack Arias tutorial.
Monitor – Old Dell 19″ LCD setup as a second screen pointed at the trick or treaters so they (and parents) could see the shots. This was naturally a big hit to see things on the fly.
Uploading – I had my camera tethered to a laptop with a 15 foot USB cable to give me a little freedom of movement. The laptop is running Lightroom 3.2 grabbing the pics via the camera tether option. I had a preset applied on import and then it went into a smart gallery that was setup to upload to my SmugMug account via the new publish service in Lightroom 3. Whenever there was a break in the trick or treaters I would go over and tell it to upload any new photos. I think the longest photos set on my compute without being uploaded was 10-15 minutes.
Cards – I ordered some business cards with a URL to where the photos could be found.
New lens – First time I got to give my new 24-105 L lens a work out. It did awesome… of course 🙂
What would I do different if I did it again
- I would get cards that don’t have the year on them. The order was for 200 cards that I am guessing I used 50 of. But with the brkr.co/halloween2010 URL on it, they are kind of dated. I would do brkr.co/halloweenpics (or something) then I could carry cards over to the next year. I could just change what the shorturl was pointing to each year.
- I would love to get a wireless system so get the photos off the camera without the wire tether. But I’m guessing that would get spendy fast.
- Naturally more lights would be great.
- I may change over to a halloween/fall scene instead of the plain white background. Will have to ask some parents about what they would prefer.
- Would like to find a way for the upload to happen automatically.
All in all, I had a great time interacting with everyone. Lots of people had lot of fun getting their shots taken. Parents of course love it, getting some great photos of their kids. I will likely do it again next year. Just need to find the happy place between having fun with my own boys and getting all this setup and taking the pics.


